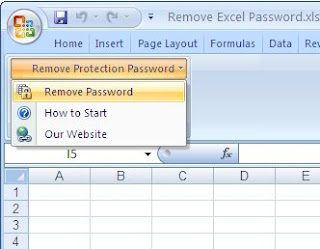
Unprotecting an Excel sheet is surprisingly easy. If your Excel sheet is password protected and you do not know the password, there is no way that you can unprotect the sheet in that particular workbook – but you can create a new workbook which will contain exactly the same formulas, formatting and values that will not be protected and will be editable.
How to Unprotect a Non-Password Protected Excel Sheet
Open up the Excel document.
Click on the “Review” tab.
Click “Unprotect Sheet” or “Unprotect Workbook.”
How to Unprotect a Password Protected Excel Sheet
- The first way to do this is to copy and paste the contents into a new workbook. This sounds very simple and is very simple but most people do not even consider this option due to its simplicity.
- In the case that your Excel sheet is password protected and you cannot select the cells on the Excel sheet, you are going to need to make use of a web-based spreadsheet solution – namely Google Spreadsheet.

- Upload your spreadsheet into Google Spreadsheet.
- You can now already edit the file, from within Google Spreadsheet. If you wish to make a copy that you can also edit in Excel, simply export the spreadsheet into an .xls file. Simple.
How to Remove Protection from an Excel Sheet using Google Docs
Another way to remove protection from an Excel sheet without the password or access to the document creator is to import it into the Google Docs Spreadsheet program, which will remove protection once the document is imported.

Step 1 – Create a Google account at gmail.com or use an existing one.
Step 2 – Log into Google Docs with a google account at: docs.google.com by entering a login name and password.
Step 3 – Click “Upload” then the “Select Files to Upload” option on the subsequent window.
Step 4 – Use the Google file chooser to locate the spreadsheet file to be uploaded and that protection will be removed from.
Step 5 – View and edit the data file after it is successfully imported into Google Docs.
So now you know How to Unprotect an Excel Sheet, it's pretty easy, right?


{ 0 comments... read them below or add one }
Post a Comment